Moving to The Netherlands: The Best Step-by-Step Guide to the Dutch American Friendship Treaty Visa (DAFT)
Categories: Legal
It’s not hard to reside in the Netherlands under the Dutch American Friendship Treaty (DAFT) – or so it seems. The treaty was created to help both American and Dutch entrepreneurs open and grow businesses in each other’s countries. Many people (and websites) say “You just need to register your business with the Chamber of Commerce (KvK) and open a Dutch bank account with at least 4500€ – so easy!”
But moving to another country is never that simple, especially as an entrepreneur or freelancer. Based on personal experience as well as obsessive research, here’s a step-by-step guide for American freelancers or entrepreneurs moving to the Netherlands on a DAFT visa, including costs wherever applicable.
by Cytonn Photography on Unsplash
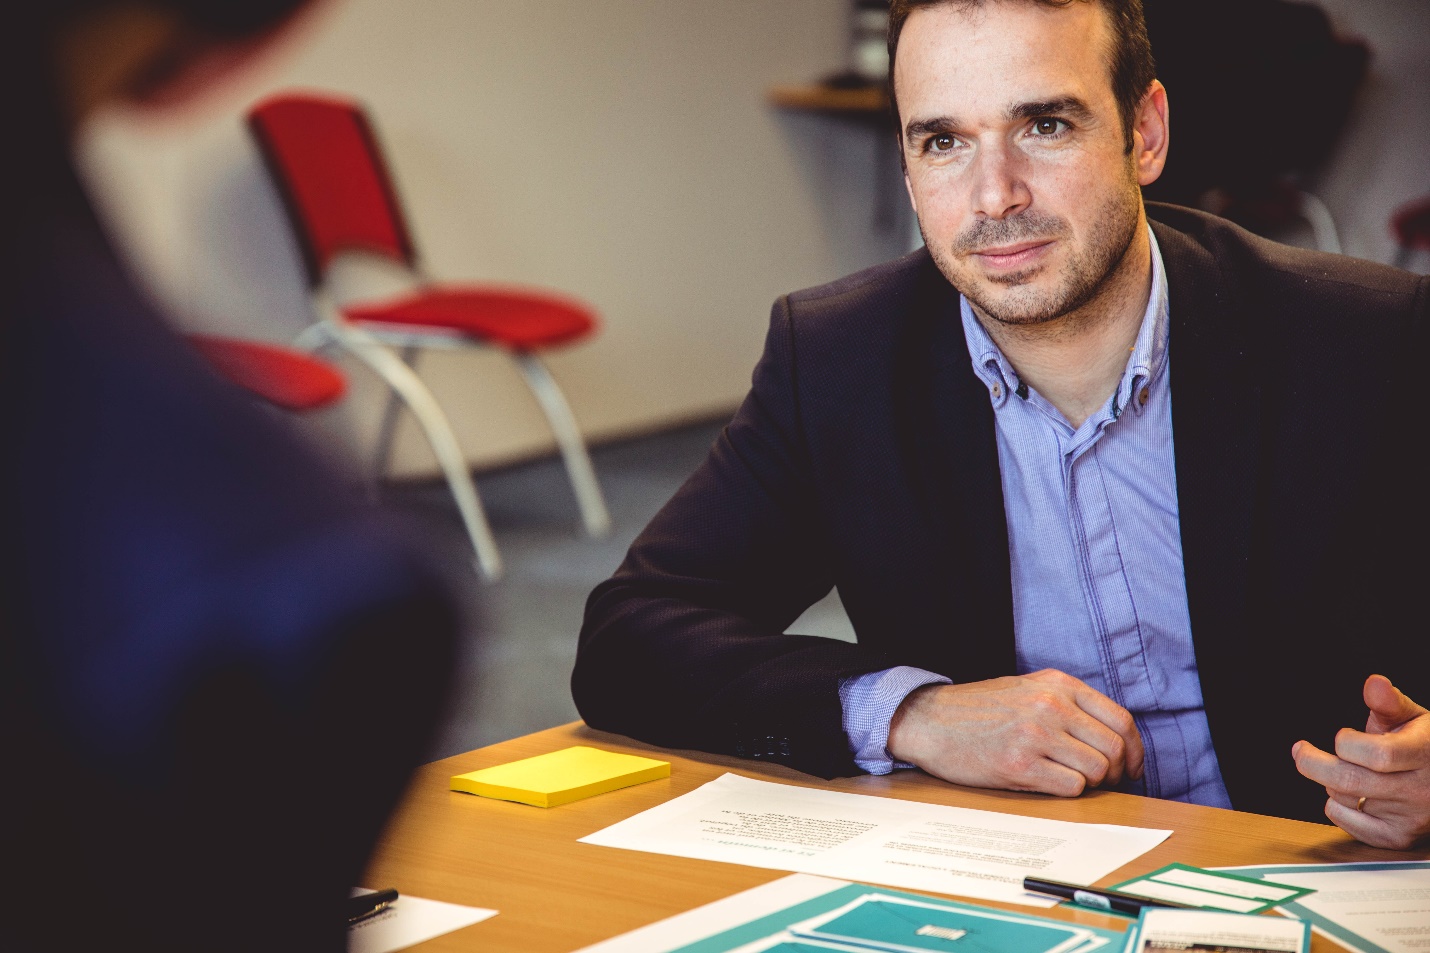
Option: Hire an immigration lawyer – fees vary
As mentioned previously, there’s a lot of information out there about DAFT and immigration. But the internet is dark and full of secrets (Game of Thrones, anyone?), and hiring an immigration lawyer can help clarify the process.
Most of the information that will appear in your Google search pertains to highly skilled migrants: The 30% Rule, trading in your driver’s license, the swiftness of paperwork processing…none of these apply to the DAFT visa.
Consider hiring an immigration lawyer if:
-
- You have the extra money
- You have questions you want confirmed by a professional
- You hate making appointments
- You’re not confident in filing your own paperwork
A prominent example of a reputable law firm is INLS, renowned for their expertise in handling DAFT visa applications. Their deep understanding of IND (Immigration and Naturalisation Service) processes stems from their own prior experience working within the IND, granting them unparalleled insight and proficiency.
 by William Iven on Unsplash
Step 1: Write a business plan
Before applying for Dutch residency under DAFT, you need a business plan. Whether you’ve been freelancing for over 20 years or are just starting, Immigratie- en Naturalisatiedienst (IND) wants to know how you plan to make money (and stay off the Dutch welfare programs).
This can include:
- The mission: what you want to achieve with your business
- Description of services: how you will accomplish your mission
- Additional qualifications: your work experience and certifications
It can be just a one-page explanation of what you intend to do while working here, and ultimately, how you will add value to the Dutch economy. You can read more about the self-employment conditions on IND’s website.
by Philipp Berndt on Unsplash
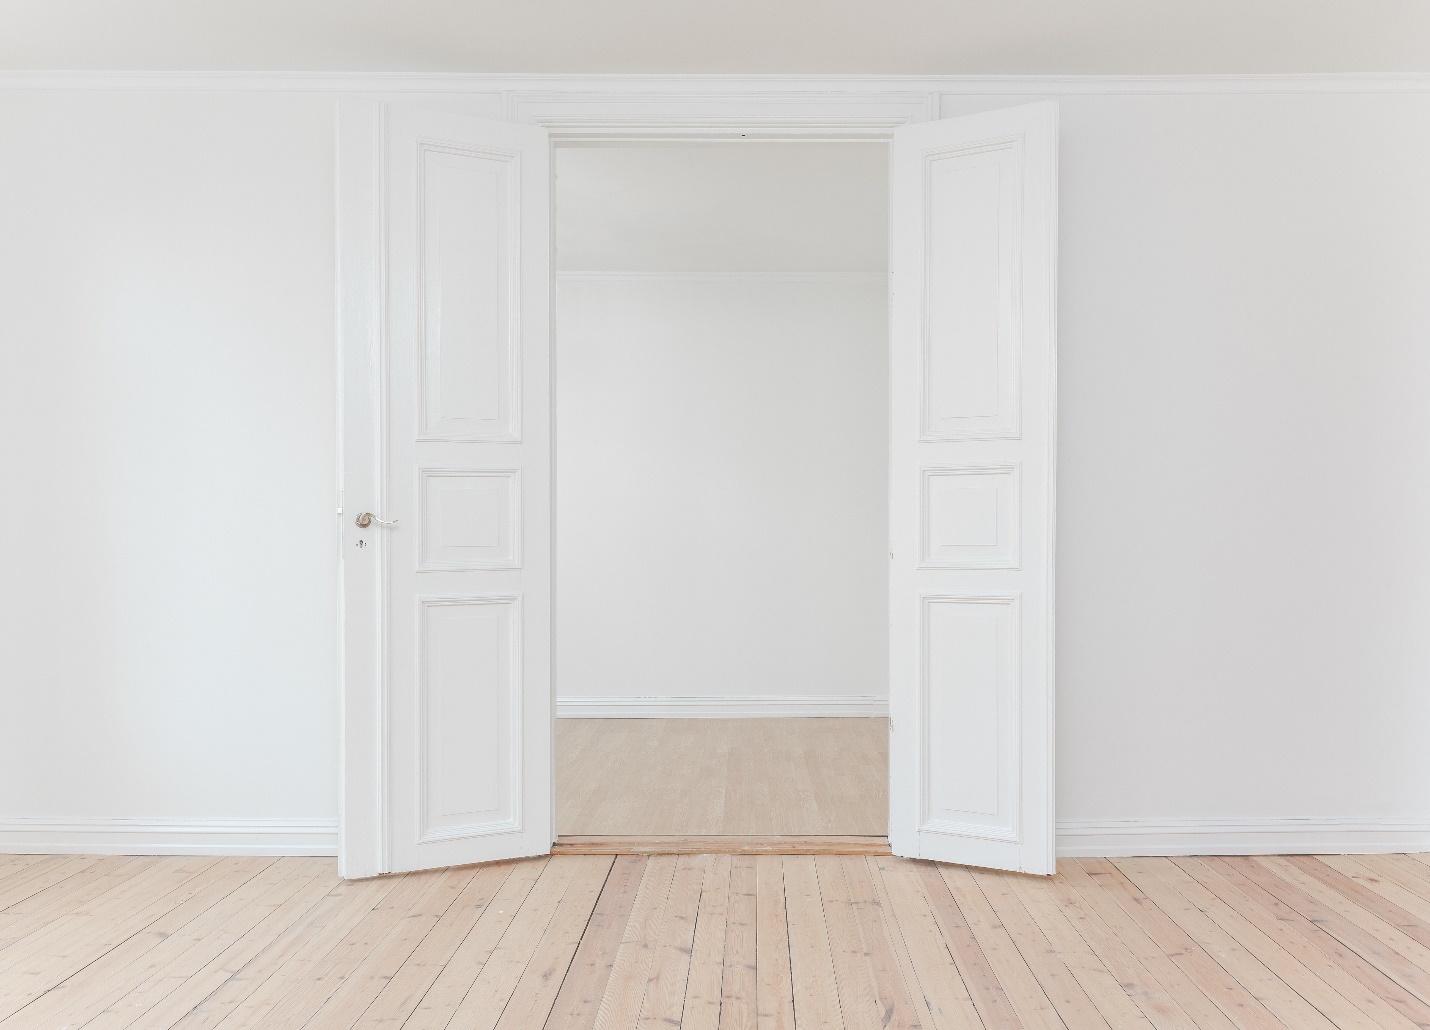
Step 2: Get a mailing address – varies
IND needs a Dutch address to use as the registered address and to mail paperwork.
It’s difficult to secure an address if you aren’t already in the Netherlands. That being said, it’s still difficult to find housing once you’re here. Regardless of where you are currently located, start searching websites like Funda to learn more about the different makelaars (real estate agents) in your area, and the housing options available.
Once you secure a lease, you still have to make all the payments before moving (security deposit, makelaar fee, first month’s rent). But you won’t have a Dutch bank account, and you won’t be able to open one until after you have a lease. You’ll most likely need to transfer funds directly from your American bank account to your landlord.
by Helloquence on Unsplash
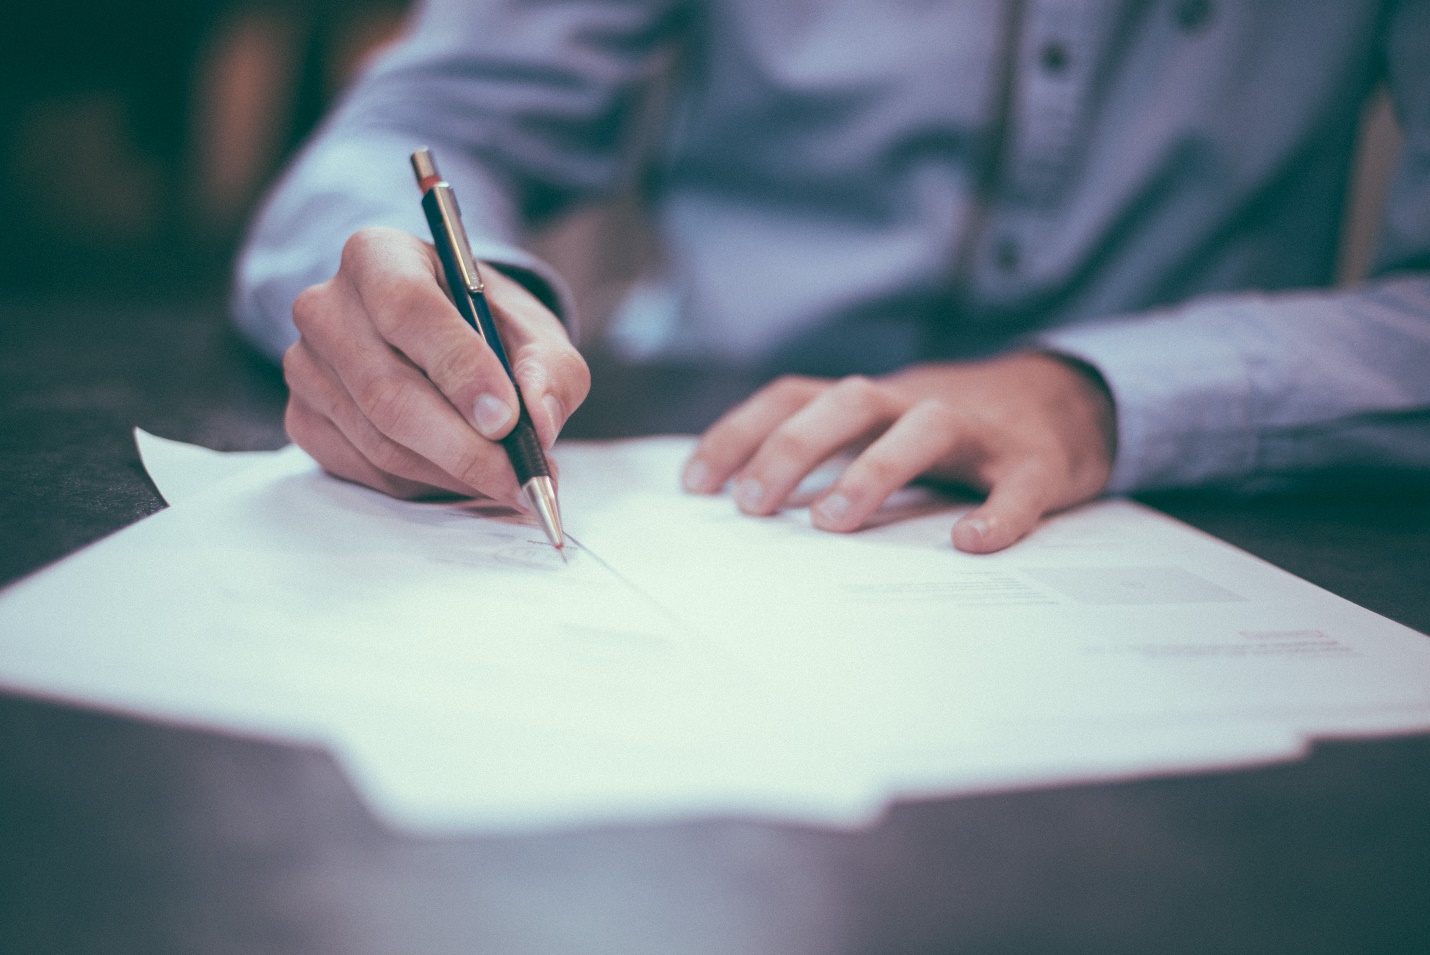
Step 3: Submit the visa application – 1348€ (as of 2019)
You can download the application from the IND website in English. You will not be able to submit a complete application because you won’t have a bank statement to include, which is fine. You need to submit the application in order to receive the temporary residency permit.
You have two options for submitting your form: by mail or in person.
- By mail: Once the application is received, IND will send a confirmation letter, and the application fee must be paid within 2 weeks (don’t worry – they will graciously provide their banking details). The fee will need to be transferred from your bank account. Installments and credit card payments are not an option.
- In person: You will want to call IND before you secure a mailing address because an available appointment will likely be weeks out. In addition to bringing your passport and application to the appointment (and any related documents), you will also need to bring the application fee in cash because you probably still don’t have a Dutch bank account. If you have an in-person appointment, step 4 will be combined with this step.
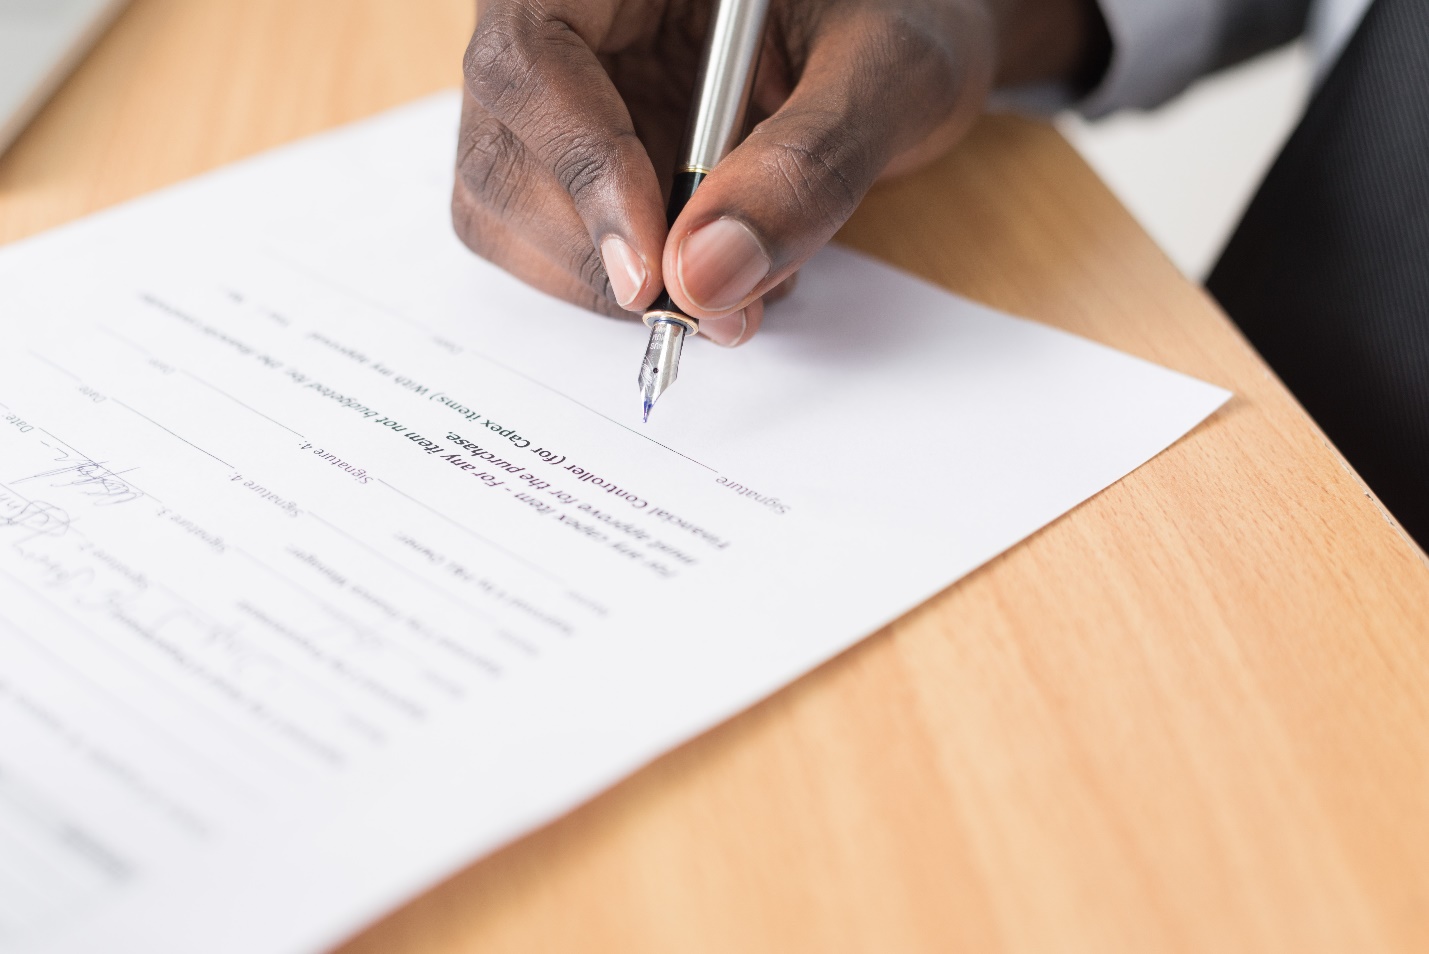
Step 4: Obtain a temporary residency permit
The “residence endorsement sticker” allows you to work and reside in the Netherlands while the application is processed. If you submit your application by mail, you can make an appointment to receive this temporary residency permit after you receive the confirmation letter. They will also take your picture and your fingerprints. Don’t forget to bring your passport! (A good rule of thumb for any of these appointments, really.)

Cytonn Photography on Unsplash
Step 5: Receive a BSN
A burgerservicenummer (BSN) is the equivalent of a Social Security Number (SSN) in the United States: without it, you can’t receive benefits from the government, sign up for healthcare, or open a bank account. But you have to have your residency permit before you can make a BSN appointment with your city hall.
For this BSN registration appointment, you will need:
- your passport (which has the residency sticker in it)
- your lease agreement
- your apostilled birth certificate (see bonus step)
- your apostilled marriage license (if applicable – see bonus step)
- a completed form that was emailed to you
It’s unlikely you already have apostilled documents (unless you follow this guide before coming to the Netherlands!). City Hall will let you register and give you a BSN without them, and you will have six months to bring the apostilled documents. If you don’t, you may be fined.
Let op! (Pay attention!) If you move from the city where you receive your BSN, you will need to de-register with them, and then re-register with your new city hall.
Bonus Step: Acquire Apostilled Documents – state fees vary
In order to officially complete the visa process, the municipality requires apostilled versions of government documents.
Why? Because the bureaucracies of the world got together and said “How can we make more money?” (Just a theory. But probably.)
So in order to complete the registration process, you need to:
- obtain an original copy of your required documents (birth certificate, marriage license)
- send them to a special clerk’s office in the U.S.
- have the office confirm the documents are correct
- have them stamp and sign a piece of paper declaring the documents are correct
The process (and price) of getting apostilled documents varies from state to state (California likes to make things especially difficult). Get these as soon as possible, and no, notarized documents aren’t the same thing.
by Johanna Buguet on Unsplash
Step 6: Open a Personal Bank Account – bank fees vary
Once you have that golden ticket (your BSN), you can finally open a Dutch bank account!
You may have noticed by now that the Dutch love their appointments. You might be able to walk into a bank and simply open an account, but it doesn’t hurt to make an appointment just in case.
You will need to bring your passport and BSN, and possibly a copy of your lease. Opening your personal and business bank account with the same bank will make future transactions quicker and easier. To save time and get started right away, try an online digital bank. For instance with bunq you can open your business bank account in 5 minutes.
Let op! (Pay attention!) Most banks will not take cash deposits when you open your account (unlike the States). They will send you a PIN code and a bank card separately in the mail, and then you can deposit cash at an ATM.
Step 7: Register Business – 65€ (as of 2019)
Now that you have your BSN, make an appointment to register your business at the Kamer van Koophandel (KvK). As a freelancer, you will most likely register as a sole proprietorship (eenmanszaak) . You can find the forms on the KvK website, as well as make an appointment online. You will receive a confirmation email that will list what you need to bring.
You will pay the 50€ registration fee at your appointment by debit card (because now you have a Dutch bank account!). You will also have the option to pay 15€ for an official extract of your registration – you will need this to complete your IND application, so it’s not really optional for you.
Step 8: Open a Business Bank Account – 4500€ (plus bank and accountant fees)
Once you have your KvK documents, you can open a small business bank account. Again, you could walk into a bank to open your account, or make an appointment to guarantee a time slot.
Once you open the account, you will need a Dutch accountant to draft “an opening balance sheet of assets and liabilities.”
Assuming you followed this step-by-step guide, you now submit that balance sheet from the Dutch accountant to IND in order to complete your application…and then you wait.
Step 9: Approved!
Once IND approves your application (hooray!), you will need to make an appointment to pick up your residence card.
by Stephanie LeBlanc on Unsplash
Conclusion: Simple Does Not Mean Stress-Free (or Cheap)
All things considered, the DAFT visa process is easy, but it can still be stressful and time consuming.
As of 2019, you will need 5913€ just to process the visa. That doesn’t include:
- An immigration lawyer
- Banking fees
- Apostille fees
- Rental fees (security deposit, makelaar fee, first month’s rent)
- Moving expenses
- Day-to-day living expenses (food, transportation, utilities)
But when it’s all said and done, freelancing in the Netherlands is a pretty sweet gig.
Interested in living in the Netherlands? Expat Republic can guide you along the way! Signup to our newsletter and get more useful tips!
—
By: Sterling Schuyler